Essential Tips for DIY Faucet Repair, Rescue Plumbing.
A leaky faucet can be more than just an annoyance. It can waste water and increase your utility bills. Fortunately, you don’t always need to call a Chicago plumber for every faucet leak. With some basic tools and a little know-how, you can tackle many faucet repairs on your own. This guide will walk you through essential tips for DIY faucet repair, focusing on common issues like leaks, drips, and replacements.

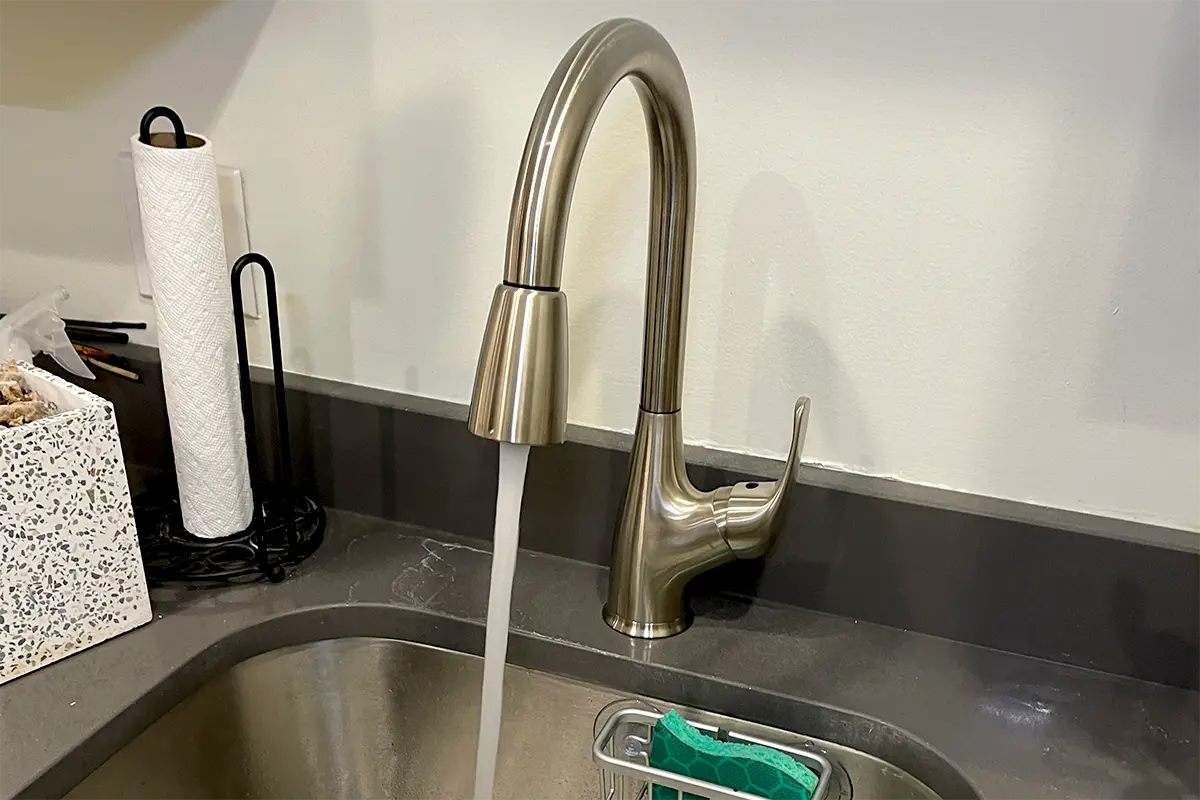
Understanding Your Faucet
Before you dive into repairs, it’s important to understand the type of faucet you have. There are several types of faucets, including compression, ball, cartridge, and ceramic disk. Each type has different mechanisms and may require different repair techniques.
Identifying Faucet Types
- Compression Faucets: These are the oldest type and have separate hot and cold handles. They work by compressing a rubber washer to stop the water flow.
- Ball Faucets: Common in kitchen sinks, these have a single handle that moves over a rounded ball-shaped cap.
- Cartridge Faucets: These can have one or two handles. They operate with a movable cartridge to control water flow.
- Ceramic Disk Faucets: Known for their durability, these have a single lever over a wide cylindrical body.

Common Faucet Problems and Solutions
Whether it’s a kitchen faucet or a bathroom tap, most faucet problems fall into a few common categories. Here’s how to address them:
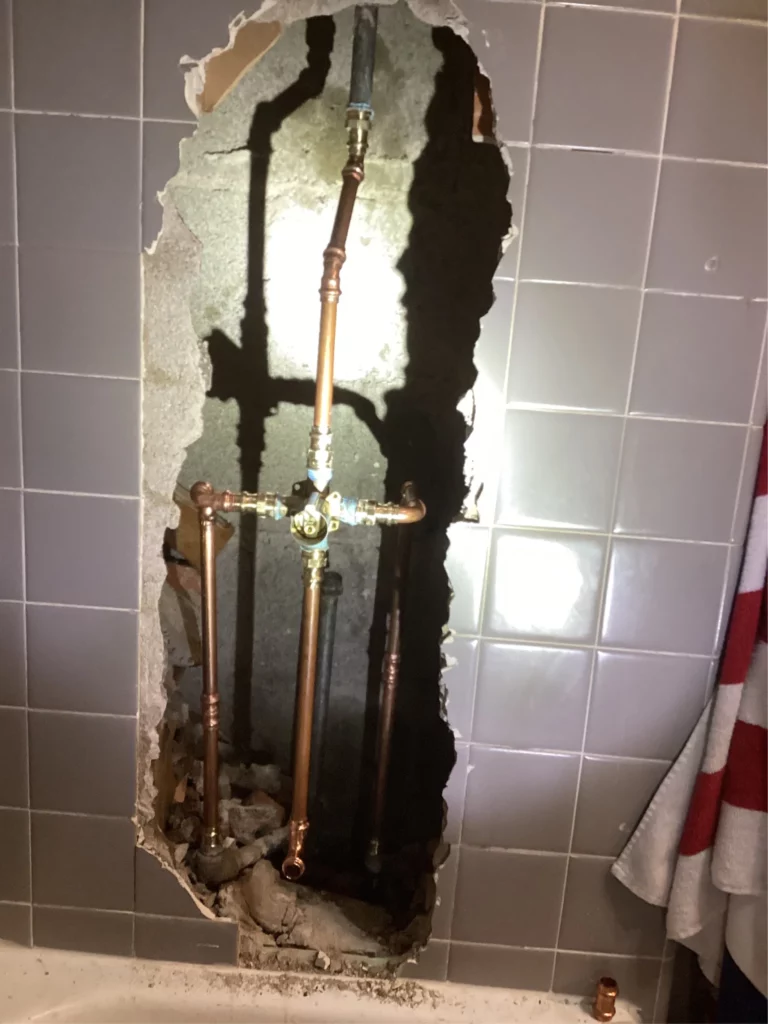
Fixing a Leaky Faucet
A persistent drip can keep you up at night and waste gallons of water. Here’s how to fix it:
- Turn Off the Water Supply: Before starting, turn off the water supply to prevent any mess. You’ll find the shut-off valves under the sink.
- Disassemble the Faucet: Remove the handle to access the internal parts. You may need a screwdriver or an Allen wrench, depending on your faucet type.
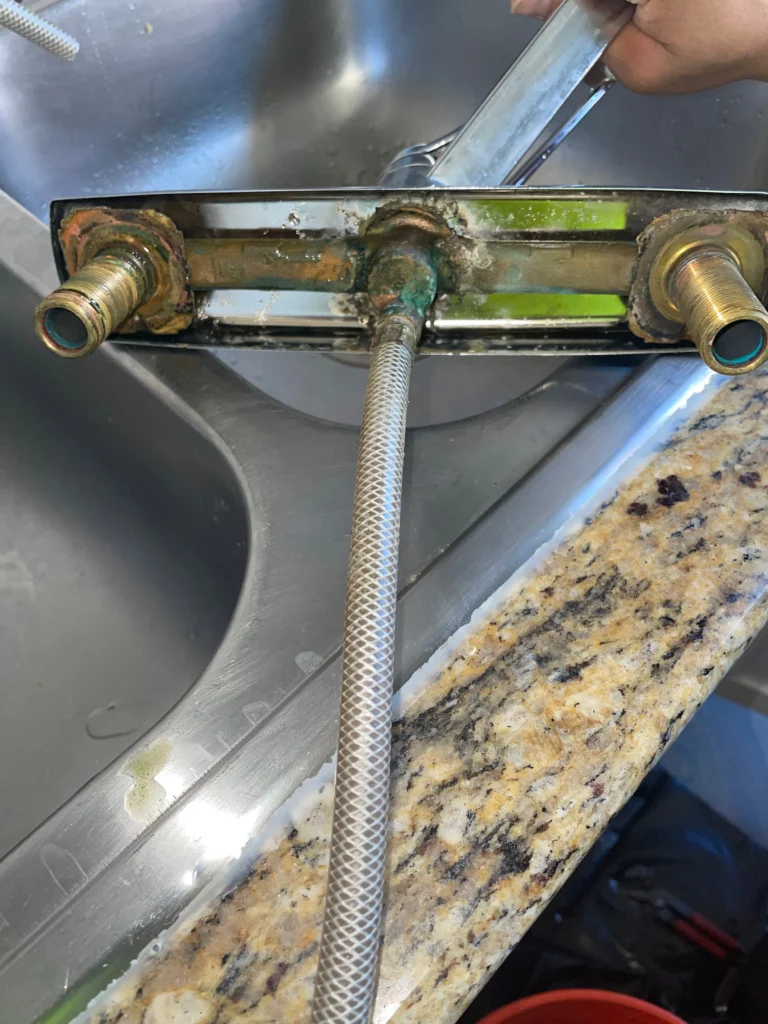
- Replace Worn Out Parts: Inspect washers, O-rings, and seals. These parts often wear out and cause leaks. Replace any damaged parts.
- Reassemble and Test: Put the faucet back together and turn on the water supply. Check for leaks by running water through the faucet.
Dealing with Low Water Pressure
Low water pressure can be frustrating. It’s often caused by a clogged aerator or cartridge:
- Clean the Aerator: Unscrew the aerator from the faucet’s tip. Clean any sediment or debris.
- Check the Cartridge: Remove the faucet handle and inspect the cartridge. Clean or replace it if necessary.
When to Consider Faucet Replacement
Sometimes, repairing isn’t enough, and replacement is the best option, particularly for outdated or severely damaged faucets.
How to Replace a Faucet
Replacing a faucet involves several steps, but with patience, it’s manageable:
- Select a New Faucet: Choose a faucet that fits your sink’s holes and complements your decor.
- Remove the Old Faucet: Disconnect the water supply lines and unscrew the mounting nuts. Lift the old faucet out.
- Install the New Faucet: Follow the manufacturer’s instructions. Typically, you’ll position the faucet, secure it with nuts, and connect the water supply lines.
- Check for Leaks: Turn on the water and inspect all connections to ensure there are no leaks.

by Thomas Wolter (https://unsplash.com/@thomaswolter)
DIY Plumbing Tips
Tackling faucet repairs requires some basic plumbing knowledge. Here are some tips to make the process smoother:
Gather the Right Tools
Having the right tools is essential. Keep these on hand for any plumbing repair:
- Adjustable wrench
- Screwdriver set
- Allen wrenches
- Plumber’s tape
- Replacement washers and O-rings
Safety First
Always prioritize safety. Wear protective eyewear when working under sinks, and make sure to shut off the water supply before beginning any repair.
Know When to Call a Professional
While DIY repairs can save money, some situations require professional expertise. If you encounter a complex issue or lack confidence in your skills, don’t hesitate to contact a licensed plumber.
Conclusion
Faucet repair doesn’t have to be daunting. By understanding your faucet type, addressing common issues like leaks and low water pressure, and knowing when to replace a faucet, you can save time and money. However, always prioritize safety and know when to call a professional if needed. With these essential tips, you’re well on your way to mastering DIY faucet repair. Happy fixing!